Lessons in photography for realtors and people selling houses. A few lessons from this weekend.
1. Use a tripod, always.
Using a tripod will guarantee blur-free photos. My photos are NOT blur-free because I did not use a tripod.
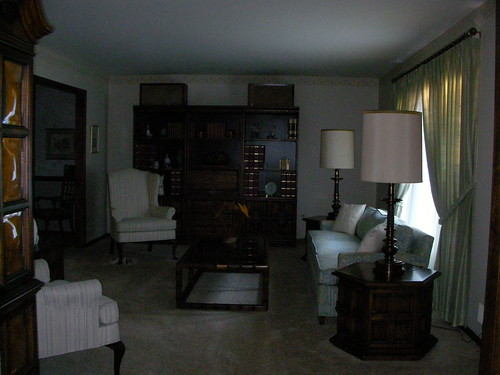
2. Learn to use white balance, and turn OFF your flash.
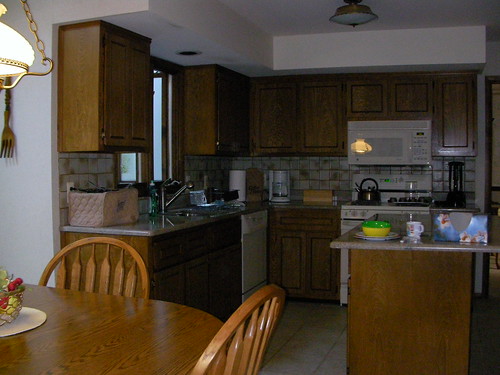
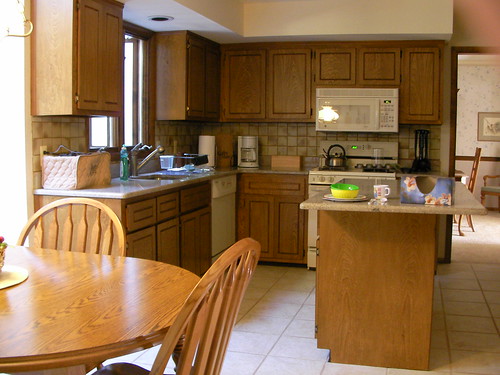
Here’s the thing about most realtor photos. Most photos are bad, and the number one thing about them is that the lighting is wrong, wrong, wrong. Compare these two photos of the kitchen:
This is with no white balance and a flash. See how dark the cabinets look?
This is with white balance and NO flash.
White balance is easy – point the lens at a white object in the room (a wall) and use it to set the lighting levels.
If you use a tripod, you can avoid using a flash, and that’s a HUGE benefit because it shows the rooms as they’re actually lit, if not a little brighter. Using a flash also tends to throw photos towards the blue end of the lighting spectrum, which feels cold. Most of the time, in most house photos, you want to go for warm, and that means tripod, no flash.
3. Learn the rule of thirds.
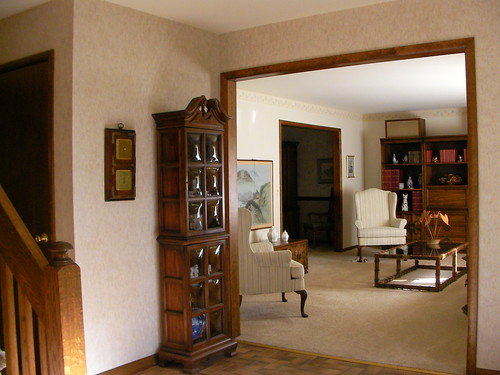
Simply put, if you shoot a room square on, you end up with flat, dimensionless photos that don’t give a feel or sense of space.
The rule of thirds is well explained in this wikipedia article.
4. Shoot from hip level or non-traditional angles.
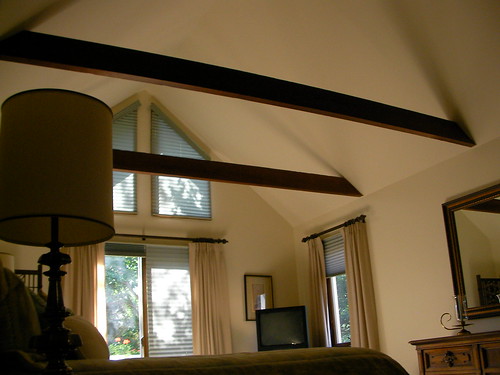
Nothing will make a house feel smaller than shooting from eye level, or higher. Shoot from hip level, low level, or unusual angles to capture more of a sense of space in the house. Sure, you’ll have to adjust your tripod and bend over to take the shot, but the result is WORTH it.
Bottom line: more and more people are browsing on the Internet. Those few digital snaps you take can either entice a prospective buyer, or turn them off entirely. How many sales are you losing with bad photos and you don’t even know about it?
Leave a Reply